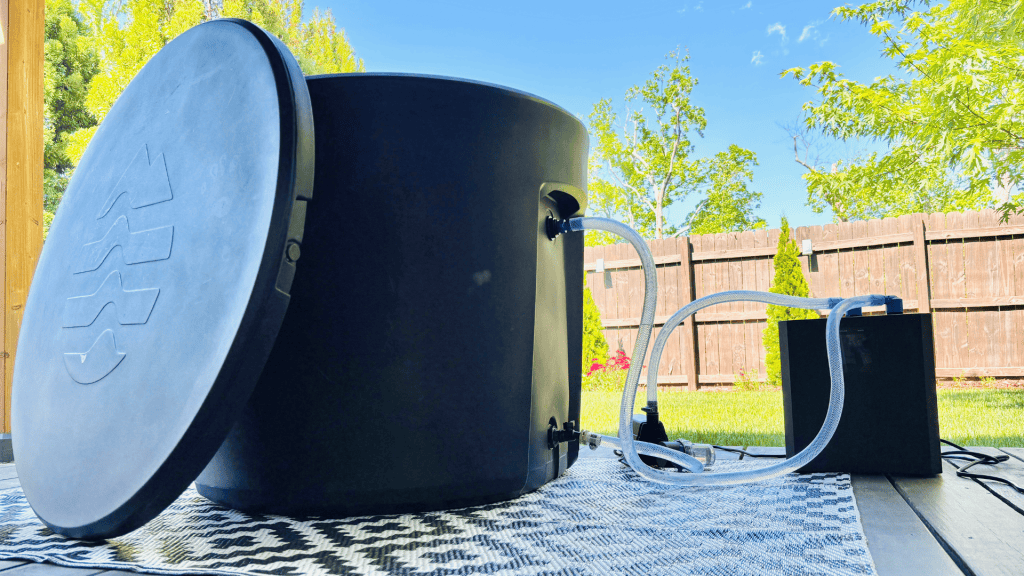
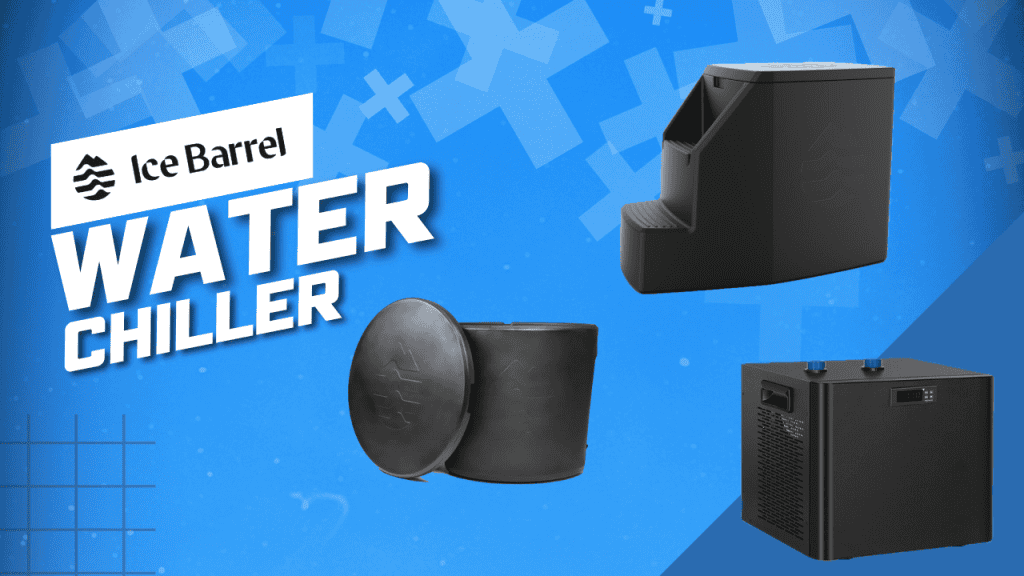
Looking to upgrade your recovery plan without spending too much? This DIY Ice Barrel 300 & 500 Water Chiller tutorial might be just what you need. Building your own cold therapy unit keeps water icy longer, ensuring you get the maximum comfort for quicker recovery.
The Ice Barrel 300 & 500 are both user-friendly and feature superior insulation. Fortunately, they both come chiller-ready–meaning they have an inlet and outlet to connect a water chiller.
Ice Barrel recently announced a forthcoming water chiller of their own, which looks to be quite the looker. However, the price tag might be a major turnoff for many. Enter this DIY solution.
Why choose the DIY route? It costs less than buying a ready-made cold plunge tub. And you get to make it just the way you like. This is great for saving a ton of money or fitting your needs perfectly.
Ready to roll up your sleeves and start a DIY project?

DIY Ice Barrel 300 & 500 Water Chiller Instructions

For this project, you’ll need to get a standalone water chiller. Then, you’ll need to buy all of the hoses, clamps, water pump, and filter. Don’t worry, if it sounds overwhelming, it’s not.
Putting together a super functional water chiller is easy. First, here’s a list of all of the things you’ll need:
For all of the assembly instructions for your water chiller for Ice Barrel, watch this video and you’ll be chilling in icy cold water in no time. Enjoy!
The authors and editors that comprise the Recovatech Team have 20+ years of combined experience and knowledge covering the topics of strength, fitness, and recovery. We are impassioned in our pursuit of presenting the most up-to-date information on strength training, cardio fitness, physical rehab, functional movement, nutrition, workout recovery, and best-in-class reviews. Should you feel inclined, please reach out to us at admin[at]recovatech.com.

